
10-Point Checklist for Property Photo Videos That Sell
November 10, 2026
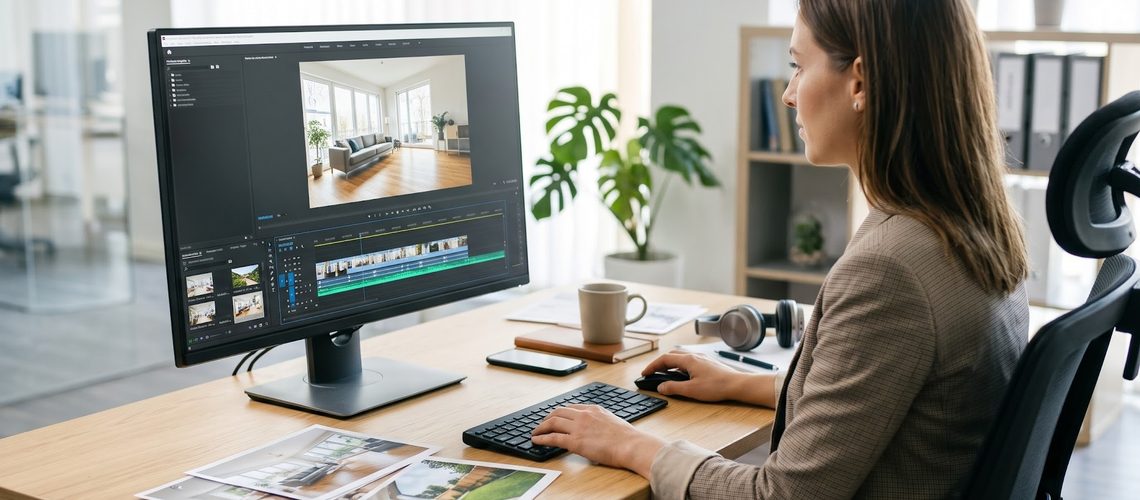
Most agents and property owners already have a folder full of decent listing photos. Turning them into a short video feels like an easy win. Add some music, drop the pictures into a timeline, export, done.
But anyone who has scrolled through property listings knows how many of these videos fall flat. The pictures jump too fast, the music fights the visuals, and one blurry kitchen shot ruins the mood. The photos were fine. The video around them just wasn’t finished properly.
This checklist walks through ten things to check before you publish. None of it needs expensive software. It just needs a careful eye and a bit of patience.
Why Videos Made from Photos Still Work for Listings
A video made from photos can’t replace a proper walkthrough shot on camera, and it shouldn’t pretend to. What it does well is give buyers a quick, easy overview of a home. People can watch it on their phone in under a minute, share it with family and get a feel for the place before booking a visit.
It’s also a practical option when the budget is tight, the property is still being prepared, or you’re marketing from a distance. The key is to treat it as a real piece of marketing, not an afterthought. That means holding it to a standard, and the ten points below are a good way to do that.
Start With the Source: Photo Quality Checks
A video can only be as good as the images inside it. Before you open any editing tool, spend time on the photos themselves.
1. Resolution and sharpness
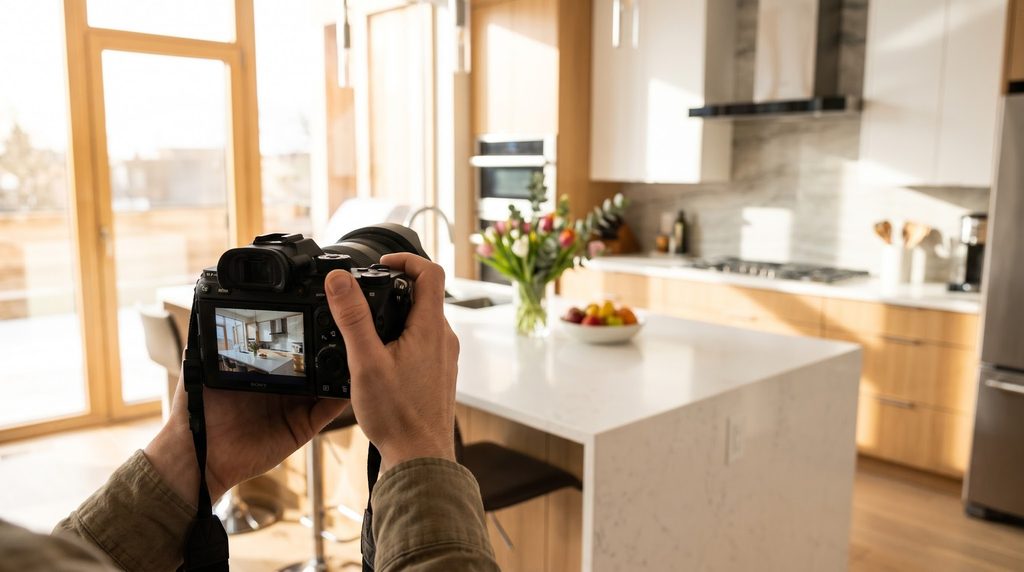
Check every photo at full size. Anything soft, grainy or pixelated will look worse once it’s stretched across a screen, especially if you plan to zoom or pan. If a photo is the only image of an important room, consider reshooting it rather than hiding the weakness.
A good rule of thumb: if you wouldn’t be happy seeing it on a large monitor, don’t put it in the video.
2. Consistent lighting and color
A warm, sunny living room followed by a cold blue bedroom feels jarring. Look for obvious differences in brightness and color from one photo to the next. Small edits to exposure and white balance can make the whole set feel like one home rather than a random collection.
Try not to over-edit. Walls should look like walls, and grass should look like grass. Buyers notice quickly when a home looks nothing like its photos.
3. Straight lines and clean frames
Tilted walls, crooked door frames and cropped ceilings make a space feel awkward. Straighten verticals, check that the edges of each room are visible, and remove clutter such as cables, bins or personal items that slipped into the shot.
Pacing, Order and Motion
Once the photos are ready, the next job is deciding how they appear on screen. This is where many property videos go wrong.
4. A logical order that tells a story
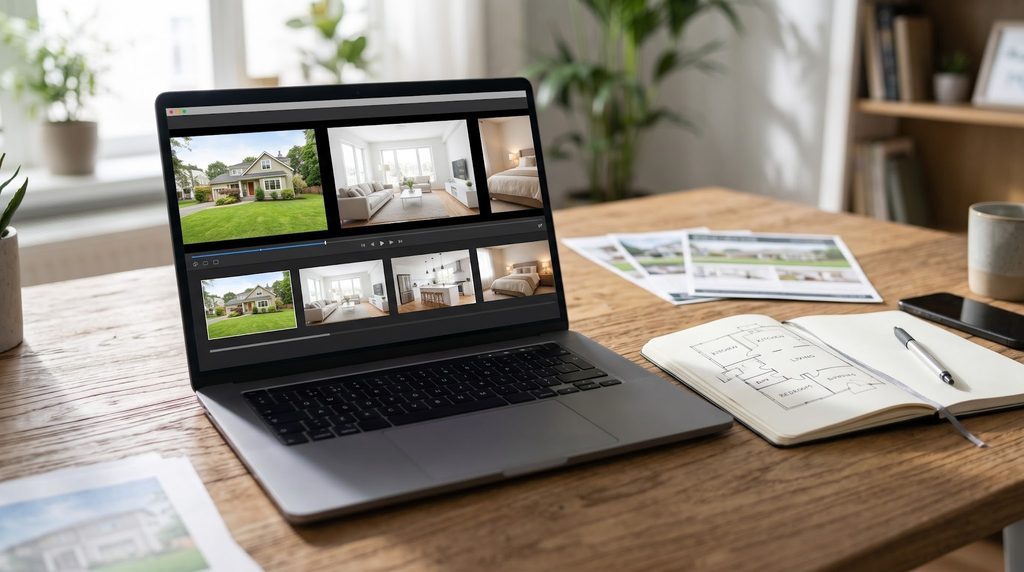
Buyers like to feel as though they’re walking through the property. A good order usually starts with the exterior, moves to the main living areas, then kitchen, bedrooms, bathrooms and finally outdoor spaces or special features.
Avoid jumping between floors or mixing indoor and outdoor shots without a reason. A clear route makes the home easier to understand.
5. Sensible timing for each photo
A photo needs a few seconds to register. Too short and viewers can’t take it in. Too long and the video drags. For most rooms, around three to five seconds works well, with a bit longer for standout features like a view, a pool or a beautiful kitchen.
Try watching the video without sound once. If you feel rushed or bored at any point, adjust the timing.
6. Gentle, purposeful movement
Slow zooms and soft pans can add life to still photos, but only if they’re handled with care. Keep movement slow and consistent, and make sure it points toward something worth seeing, such as the window view or the fireplace.
Avoid fast spins, heavy shaking effects and flashy transitions. They tend to look cheap and distract from the home. Simple cross-fades usually do the job.
Sound, Text and Branding
The visuals get attention, but sound and text decide whether people keep watching and remember who made the video.
7. Music that suits the property
Pick a track that matches the home. A calm, light tune fits a family house. Something a bit more polished suits a modern apartment. Whatever you choose, keep the volume low enough that it supports the visuals rather than competing with them.
Make sure you have the right to use the music. Using unlicensed tracks can get your video muted or removed. Royalty-free libraries or licensed tracks are the safer choice.
8. Clear, minimal text on screen
Text helps when it’s short and readable. Useful details include the location, number of bedrooms and bathrooms, and a contact line at the end. Keep fonts clean, use enough contrast against the background, and leave each caption on screen long enough to read twice.
Don’t cover important parts of the photo, and avoid filling every frame with words. If you can say it in five words instead of fifteen,.
Final Checks Before You Publish
These last two points are easy to skip when you’re tired of looking at the project, which is exactly why they matter.
9. Honest representation of the property
A good video makes the home look its best, but it shouldn’t mislead. Avoid heavy filters, unrealistic sky replacements or angles that make rooms look far larger than they are. If a photo is a few years old or the room has since changed, update it.
Misleading visuals may win a few clicks, but they lose trust once buyers visit in person. Local advertising rules also vary, so check what applies where you work.
10. Format, length and a clear ending
Check how the video looks on the platforms you’ll use. A horizontal 16:9 video suits a listing page or YouTube. A vertical version often suits social platforms. Make sure nothing important is cut off at the edges.
For length, shorter is usually better. Many listing videos work well at around 45 to 90 seconds. End with a simple call to action, such as the agent’s name, phone number or website, so viewers know what to do next.
Your Quick Checklist at a Glance
Here’s the whole list in one place, so you can run through it before every export.
| S.No: | Check | Ask yourself |
| 1 | Resolution | Is every photo sharp at full size? |
| 2 | Lighting and color | Do the photos look like the same home? |
| 3 | Lines and framing | Are walls straight and clutter removed? |
| 4 | Order | Does it feel like a walkthrough? |
| 5 | Timing | Is each photo on screen long enough? |
| 6 | Motion | Are zooms and pans slow and purposeful? |
| 7 | Music | Is it soft, suitable and properly licensed? |
| 8 | Text | Is it short, readable and not blocking the photo? |
| 9 | Honesty | Does it show the home as it really is? |
| 10 | Format and ending | Does it fit the platform and end with a clear contact? |
Common Mistakes to Avoid
Even with a checklist, a few habits keep tripping people up.
- Using too many photos. Twenty strong images beat forty average ones. Cut the weak shots.
- Repeating similar angles. Three nearly identical bedroom photos add length, not value.
- Fancy effects. Spinning transitions and heavy filters age quickly.
- Ignoring the first five seconds. Open with your best exterior or most attractive room, not a logo screen.
- Skipping a test watch. Always view the final export on a phone before posting.
Conclusion: Small Checks, Better Results
A video made from property photos doesn’t need a film crew. It needs good source images, a sensible order, steady pacing, tasteful sound and an honest finish. Work through these ten points and your listing video will look far more professional than the average slideshow.
Before you publish, watch it once on your phone, once with sound off and once with a fresh pair of eyes. If it still feels smooth and trustworthy, it’s ready to go.
Frequently Asked Questions
1. How many photos should I use in a property video?
There’s no fixed number, but most listing videos work well with around 15 to 25 strong photos. Choose images that show different rooms and features, and leave out repeats or weaker shots.
2. How long should a video made from property photos be?
Shorter is usually better. A length of roughly 45 to 90 seconds suits most listings. If the home has many features, you can go a little longer, as long as the pacing stays interesting.
3. Can I use any music in my listing video?
No. Use royalty-free or properly licensed music. Unlicensed tracks can cause your video to be muted, blocked or removed on some platforms.
4. Are zoom and pan effects a good idea?
Yes, when they’re slow and subtle. Gentle movement adds life to still photos. Fast or heavy effects usually look distracting, so keep things simple.
5. Should I edit photos before making the video?
Light editing helps. Straighten lines, balance exposure and fix color. Avoid heavy changes that make the property look different from reality, since buyers will notice when they visit.